
Installing an exhaust fan in your home can be a bit daunting, but it’s a process that is doable for homeowners with some basic DIY skills. In this post, we’ll walk you through installing a vent fan, from picking out the suitable model to sealing up the hole once it’s installed. So if you want to improve ventilation in your home, keep reading!
How to Install a Bathroom Exhaust Fan?
Installing an air conditioning bathroom fan will give your room an air conditioning solution when there isn’t enough moisture. Air in bathroom paint can deteriorate from moisture. Eliminating bathroom water and odours is essential to enhancing the bathroom’s pleasant appearance. While it is not an easy project to install a bathroom fan, the vast majority of the work revolves around the physical demands of standing at the top of a ladder while lifting the weights and the more difficult job of crouching at the bottom of the attic while using the
Before You Begin
When you install a vent fan in your home, there are two main things to keep in mind: power and ventilation. Most bathroom exhaust fans run on AC 110 V power, so it’s essential to make sure you locate the wire in the correct spot. Venting can be tricky, but you can use a flexible bathtub vent inside if you have access to the attic above your shower ceiling. This will allow the fan to blow air through the ductwork and into a hole in the roof. Remember that these products are new and may not have any ductwork installed yet, so be prepared to do some work yourself. With a little effort, you can ensure your exhaust fan is running smoothly.
Determine the Fan Size
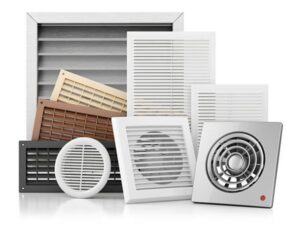
When looking for a new bathroom vent fan, you want to make sure you choose one that will be the most efficient for your home. The size of the fan is essential, as is the CFM rating. You also want to ensure that it can be used with any existing switches, wires, and ducts. Choosing a fan the same size as your existing fan helps reduce the size of holes in walls. If you want more details, you can select one of the following fans: Fan A has a CFM rating of 100 and is designed for small rooms. Fan B has a CFM rating of 200 and is designed for larger rooms. Fan C has a CFM rating of 300 and is intended for huge spaces. Each fan has its strengths and weaknesses, so choose the one that best suits your needs.
How big are your bathrooms, and how big are the CFMs needed to replace bathroom fans?
The manufacturer recommends the number of CFMs by area or cubic feet.
Length + width = square feet
Length + height = cubic feet.
Determine the Exhaust Route
One of the most critical aspects of installing an exhaust fan is determining the route the fumes will take to reach the outside, as this will help you decide where to position them during your installation process. This is typically done by tracing the path from the source of the fumes to an open window or door. Once the route has been determined, it is essential to clear any obstacles that could prevent the fumes from reaching their destination. This includes removing any furniture or other items that might block the path. In addition, it is often necessary to cut holes in walls or ceilings to create a direct route for the fumes. By planning the exhaust route carefully, you can ensure that your exhaust fan will operate effectively and safely.
Establish the Power Source
The bathroom exhaust fan will be mounted on the ceiling. You may already have electricity to where you wish to install the bathroom vent fan. You may be able to share your bathroom lighting circuit with the fan, depending on your local electrical regulations. The bathroom lighting circuit is often responsible for powering your bathroom ceiling light. Alternatively, a fan/light combo can be used in place of the morning.
Now that you have considered those mentioned above let us understand how to install an exhaust fan.
Tools You’ll Need:
- 6-foot ladder
- Safety glasses
- Dust mask or respirator
- Reciprocating saw
- Cordless drill
- 1/2-inch drill bit
- Pencil
- Drywall jab saw
- Stud finder
Materials You’ll Need:
- 1 Bathroom exhaust fan
- 6-foot flexible ducting
- 1 Aluminum foil tape
- Screws (most will have screws provided)
- 1 Round wall vent or roof vent cap
- Exterior grade silicone caulk
Installation Process: Bathroom Exhaust Fan
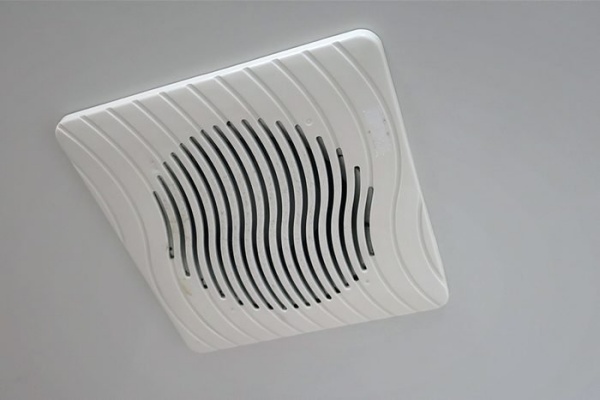
Adjust the Hole
Before starting the installation, it is essential to ensure that your fan will fit the bathroom ceiling hole. Hold the fan housing up to the spot and check for size. If the gap is too small, you can trace the fan housing onto the ceiling and then cut the ceiling drywall with a drywall jab saw. You will need to patch the ceiling if the hole is too big. To do this, cut a piece of drywall to make the ceiling hole the right size for your fan. Attach the drywall filler to an enormous amount of wood; set it in the spot, and drive screws through the ceiling into the wood. With proper preparation, you can ensure that your fan will be installed correctly and securely.
Attach the Duct Connector
After ensuring your exhaust fan fits the hole in the ceiling, attach the duct connector to the exhaust fan. Ensure that the duct connector is snug against the side of the exhaust fan. To secure the duct connector, use screws or tape. Use screws if you have them available. If you do not have screws, you can use video to secure the duct connector to the exhaust fan. Be sure to use Scotch tape or another type of strong tape. Once the duct connector is connected, attach the other end to the vent in the ceiling. If necessary, use additional screws or tape to secure the ductwork.
Attach Housing Bracket
The fan housing brackets should be fastened to the ceiling joists. The typical ceiling joist spacing is 16 to 24 inches in the centre. Before attaching the brackets to the posts with screws or nails, place the brackets into the housing slots. Ensure the ceiling fan’s housing is level with the ceiling above. If necessary, fasten the brackets to the housing with a screw.
Connect the Wiring
With a screwdriver, remove the housing wire cover and the knockout plug. House wires should be fed through the clamp before the screws are tightened. Connect the fan wires to the house cables by matching the colours with quick or wire connectors. Green connects to the green or bare copper home wire and serves as the ground. Connecting to the white home wiring, white is neutral. Black relates to the black house wire and is hot.
Insert the bare wire into the fast connection to utilise it. Holding the two wire ends together, turn the typical wire connection in a clockwise direction. Wires are pushed into the housing. Screws are used to fasten the wire cover to the housing.
Connect the Duct
Attach the duct. HVAC tape or a clamp should be used to fasten a 4-inch duct to the duct connection. The duct needs to vent outdoors. See the installation instructions further down in these instructions if you don’t have an attic duct.
Test the Fan
Check that the fan operates after turning on the power. Pay close attention since some fans are pretty silent.
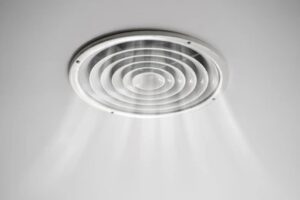
You may install the grille by pulling the cover toward the fan and compressing the springs into the slots. Spackling compound and ceiling paint can be used to touch up the ceiling.
Installation Process: Exhaust Fan in the Wall
Of course, not everyone will have the ability to install an exhaust fan in their ceiling, so let us get into how to install it through the wall.
Adjust the Hole
Just like installing an exhaust through the ceiling hole, you will need to hold your fan’s housing to the wall and measure how big the spot you have to make should be. Now, cut lines along the measured dimensions.
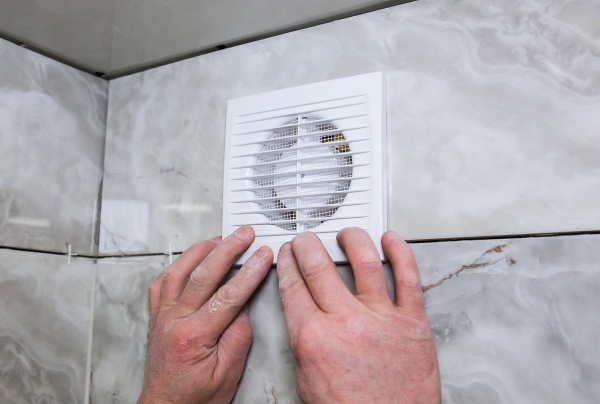
Attach the Vent and the Exhaust Fan
The ducts and housing must then be connected. Utilise the bolts to stabilise the housing and lessen vibration.
To connect your system to a power source at this time, you’ll need to mess about with cables. Consult the manufacturer’s schematic or an electrician if you’re unsure what to do at this stage. Again, you may choose to skip this step. Some fans require an electrical plug to function. Finally, it’s time to connect your exhaust fan. Secure the fan and the cover after confirming that the wiring is sound. But make sure you’re inserting it correctly!
Test the Fan
Once again, you will have to test your fan to see if it works okay or if you are content with its position.
Note:
Ensure you keep in mind the manufacturer’s directions and instructions when installing your new fan, as the above are just the basics, and some models will need special steps.
You can also check out videos to help you!
If you are not confident working with electrical wires, contact professional services to do the job for you.
Conclusion
Installing a bathroom exhaust fan can seem daunting, but it can be a breeze with the proper instructions. We’ve walked you through the basics of installing an exhaust fan in your ceiling or wall and tips on what to do if you’re not confident in working with electrical wires. Consult the manufacturer’s schematic or an electrician if you have any questions. Remember to keep the manufacturer’s directions when installing your new fan. Finally, always test your fan before finishing up the installation process!
Last Updated on
- How to clean standing fan easily - September 24, 2022
- How Long Does a Fan Last? – Electric fan Maintenance Guide - September 23, 2022
- Can electric fans be left on 24 hours a day? - September 23, 2022